Dorrough 40-A Specifications
Browse online or download Specifications for Recording Equipment Dorrough 40-A. Dorrough 40-A Specifications User Manual
- Page / 43
- Table of contents
- BOOKMARKS
- INTRODUCTION 4
- Other Important Notes 5
- Slide between three button 6
- Basic Operation 7
- Meter Views – an Overview 8
- Graphical LEQ 9
- FFT 1024 View 9
- Source & Audio Routing 10
- Selection Menu 11
- Source – Label 12
- Options Menu 13
- Set Up Bargraph Options 15
- Loudness Menu 16
- Set Up Meter Text 21
- Read-out 21
- Set Up StarFish, Timecode 22
- Timecode 23
- ‘On-screen’ Button sets 24
- Horizontal & Vertical 24
- Loudness Automation 27
- Loudness Logging 28
- Setting up Moving Coils 28
- Using PAM PiCo Matrix II 29
- Setup Editor 29
- Set Up Picture Preview 30
- Security Lock 31
- Preset Handling 31
- The Advanced Setup Menu 32
- Bargraphs 33
- Eye Width 33
- AES Lock Indication 33
- Goniometer – Vectorscope 34
- Phase correlation 34
- StarFish® 34
- FFT Spectrum Analyzer 36
- Moving Coil Emulation 36
- Loudness & Terminology 37
- Technical Specification 39
- PAM PiCo Touch I/O 41
- PiCo1 /PiCo2 42
- PAM PICO 42
- Technical 43
- Specifications 43
Summary of Contents
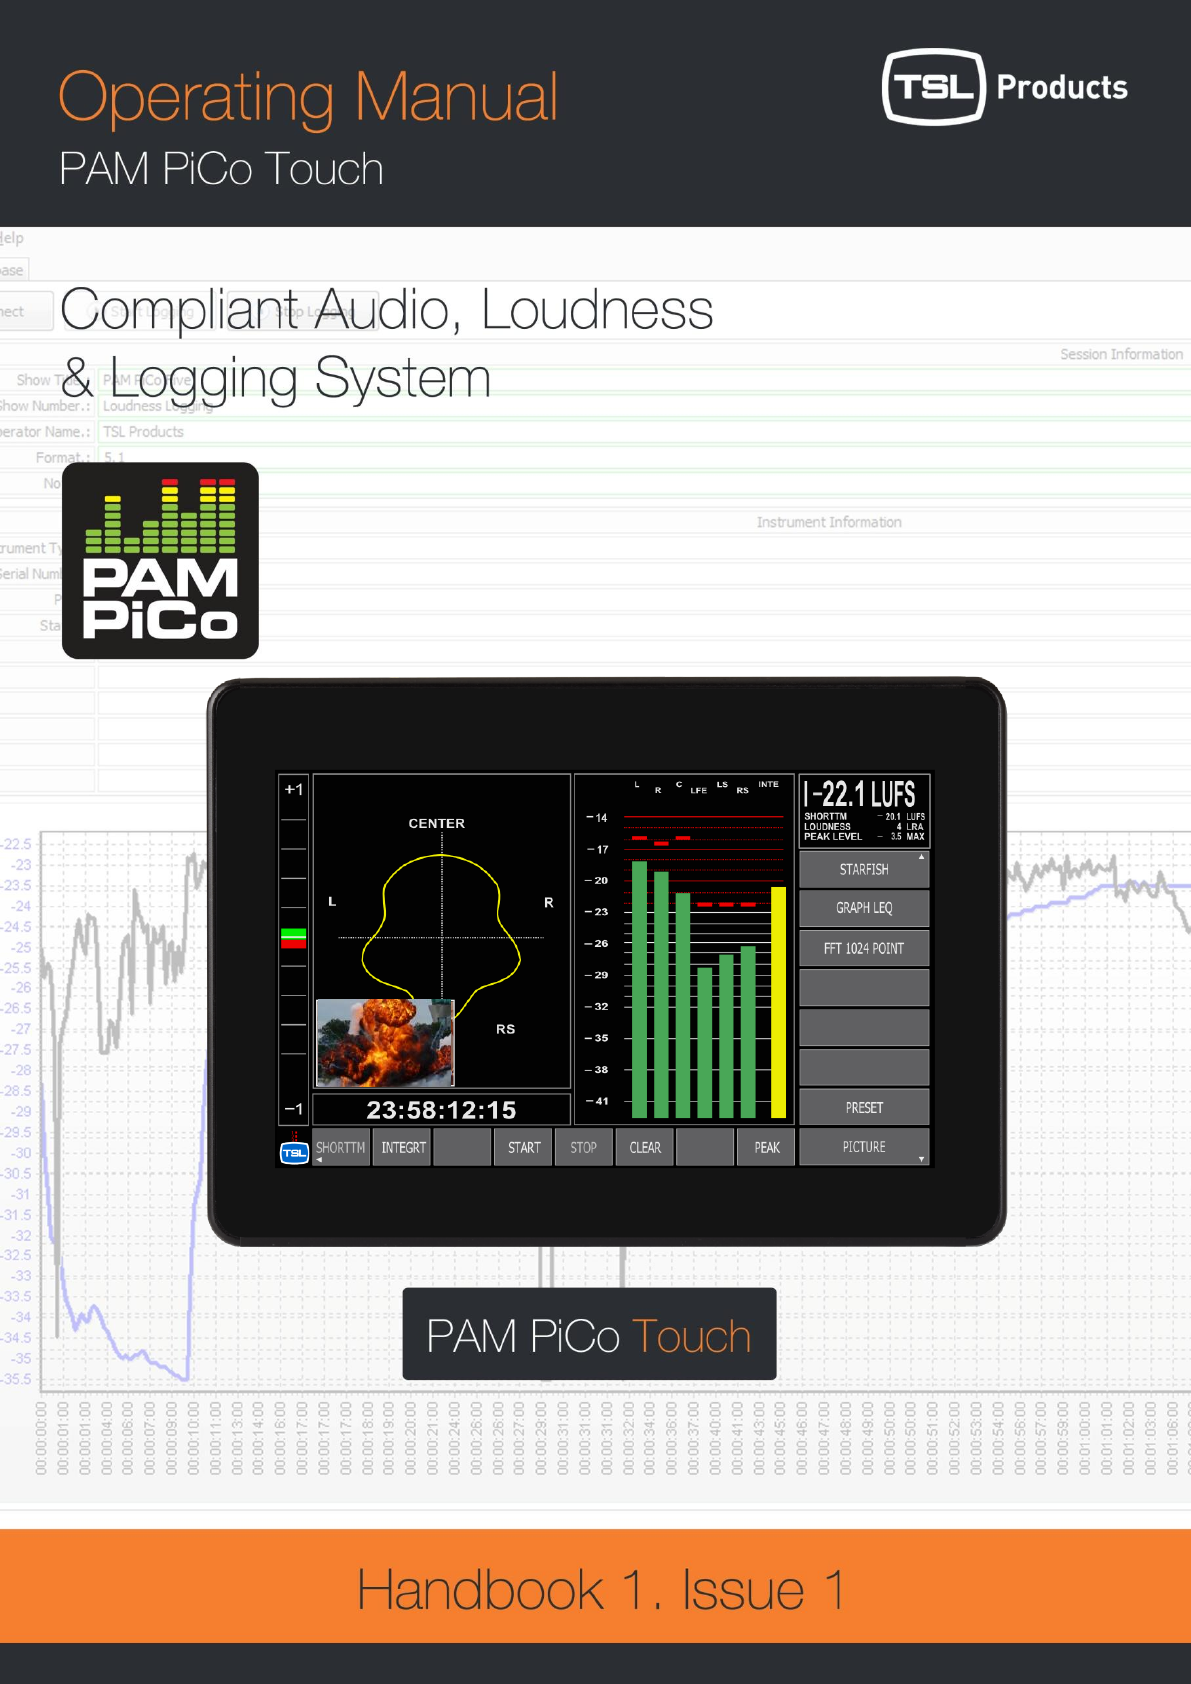
1 PAM PICO TOUCH – Complete and Compliant
10 Source & Audio Routing Understanding the Basic Signal flow of the PAM PICO TOUCH As you are probably already aware, the PAM PICO TOUCH is a
11 1 - Source Selection – Choosing your input Touch the legend bar of the Bargraph and the source selection list will open up on the right hand sid
12 Source List Group Source – Label # ID Note Internal Off 1 No input Internal TonL 3 Left output of the internal Tone Generator Internal TonR 4 R
13 Creating your own Labels In addition to the default label list, you may design your own. The process to enter the Source Label Assign menu is t
14 Hit the Header called ‘Labels Assign’ and you will see the different types. INP RS L CL R CR C CS LFE LOUD LS OFF As might notice, a lot of the
15 Set Up Bargraph Options Colours, Colour level & Bargraph Width The Bargraph options menu that we already talked about in the Source and Audi
16 Under Level Range: 0 to -25dB The ‘Under Level’ determines when the signal is considered ‘Under’ the normal level. Set Up Scale & Loudness
17 If you select ‘User’, two additional folders open up called Loudness Setup and Loudness Option. These two folders enable you to completely cust
18 Gate Level (-a) Range: -8 to -20 dB (1 dB steps). It is the high level parts of a program which are often of most interest for assessing compli
19 During the Loudness capture, you may now toggle the capture between ‘Start’ and ‘Pause’. The overall resulting loudness readings will express t
2 INTRODUCTION ...
20 During the Loudness capture, you may now toggle the capture between ‘Start’ and ‘Pause’. The overall resulting loudness readings will express t
21 Set Up Meter Text Read-out Hit the Text Read-out area to open up the Meter lines menu. The menu contains the settings for the four Text lines
22 Set Up StarFish, Timecode and Phase Meter Touching anywhere in the StarFish area will open up the StarFish and Timecode menu including: Compress
23 Timecode The Timecode section allows you to choose what timecode should be displayed below the StarFish area; Internal Timecode, incoming SMPTE
24 ‘On-screen’ Button sets Horizontal & Vertical The PAM PICO TOUCH features a set of eight buttons both horizontally and vertically. In fact
25 LEQ View FFT1024 Application Selects FFT View Loudness Menu Calls up the Horizontal Button set called ‘Loudness’ Preset Menu Calls up the Horiz
26 ‘Loudness Select’ Start Loud Starts Loudness Reading Stop Loud Stops latest Loudness Reading Resume Loud Resumes the current Loudness Reading 3
27 Loudness Automation PAM PICO TOUCH features a unique ability to automate and instantly recalculate Loudness results based on incoming timecode.
28 Loudness Logging The PAM PICO TOUCH is capable of streaming its loudness data to its companion PC application PiCo Logging, which is available a
29 Using PAM PiCo Matrix II Setup Editor The PiCo Matrix II Setup Editor, allows you to quickly and easily get an overview of the sources and desti
3 GRAPHICAL LOUDNESS ...
30 Set Up Picture Preview The SDI Picture preview function of the PAM PICO TOUCH is enabled/disabled by hitting the ‘Picture’ button defaulting to
31 Security Lock The PAM PICO TOUCH features a security lock function allowing you to block for access to background setup parameters and menus thr
32 The Advanced Setup Menu The Setup Menu The Setup Menu holds the access to all of the background parameters of your PAM PICO TOUCH. Most of the
33 Instruments & Display Tools Bargraphs The standard Bargraphs can be used to view numerous different representations of the incoming audio e
34 Goniometer – Vectorscope The Goniometer is automatically chosen when StarFish® or JellyFish® are enabled and only 2 channels are routed to the
35 JellyFish™ DK Technologies’ trademark ‘JellyFish®’ display was first launched on audio only meters. It was later developed to provide the alter
36 After hiding the Analyzer panel, the left panel part of the screen shows the individual audio level Bargraphs for the elements that make up the
37 Loudness & Terminology About Loudness Loudness measurements differ from conventional signal amplitude measurements in that they are also inf
38 Dynamic Gated Integrated Loudness (I) The dynamic gated loudness is a long term measurement (an integration over the entire material) based on
39 Technical Specification PAM PICO TOUCH Hardware GPIO – External Hardware Control PAM PICO TOUCH features three hardware GPIO’s using pin 5 and 1
4 INTRODUCTION Before you begin… Thank you for purchasing one of the PAM PiCo family members. With the PAM PICO TOUCH you are well equipped to mee
40 D-Sub Cable Pin-out Here is the pinout of the 15 pin D-Sub connector on the backside of the PAM PICO TOUCH. Mechanical Dimensions and Mountin
41 PiCo 1, PiCo 2, PiCo 5 Mechanical PiCo 1, PiCo 2 PiCo 5 PAM PICO TOUCH Dimensions 88 x 132 x 18 mm Aluminium Chassis 88 x 132 x 18 mm Alumini
42 PAM PICO TOUCH Tools Overview PiCo1 /PiCo2 PiCo5 PAM PICO TOUCH Tools Included Peak Metering Bargraph, Moving Coil Emulation, Numerical
43 Technical Specifications PiCo1 / PiCo2 PiCo5 PAM PICO TOUCH Audio Connectors Analogue input 2 XLR input 2 XLR input 2 XLR input AES input
5 Other Important Notes Disclaimer No part of this document may be reproduced or transmitted in any form or by any means, electronic or mechanical,
6 PAM PiCo Touch – Quick Sheet StarFish, Phase & TC Setup Touch the Goniometer section to setup change StarFish setup. Choose your Timecod
7 Basic Operation Touch Zones & Navigation The PAM PICO TOUCH is a multi-touch sensitive device allowing for both slides, tap and Press &
8 Meter Views – an Overview This section gives you a quick overview of the different views available in the PAM PICO TOUCH. StarFish View The StarF
9 Graphical LEQ View The Graphical LEQ view allows for several different simultaneous views. On top of the four standard text readouts and phase m
More documents for Recording Equipment Dorrough 40-A


Related products and manuals for Recording Equipment Dorrough 40-A
 (20 pages)
© 2020, manymanuals.com. All rights reserved. | 1.255 s |
 Manymanuals.com
 Manymanuals.de
 Manymanuals.fr
 Manymanuals.it
 Manymanuals.pl
 Manymanuals.cz
 Manymanuals.es
 Manymanuals-pt.com
Comments to this Manuals